Start a fire even in extreme conditions!
Starting a fire is not as complicated as it might seem at first glance. The key factor for the success of the entire event is good preparation and following a few simple principles. Learn how to start a fire effectively even in extreme conditions, using only basic outdoor equipment. Check out some tips straight from a survival instructor!
Fire has accompanied humanity throughout its history. Since the time when man learned to make and use it effectively, it has been a beneficial helper and has contributed to the flourishing of humanity and the development of its knowledge to a large extent. And in today's article, we will tell you and describe in detail the procedure for making a fire that will burn reliably under any conditions and we will not have to wonder why it does not want to burn. And not only in an emergency situation.
Safety first!
Before we start the process of starting the fire itself, it is necessary to mention a few safety principles:
- The place for making a fire should not be located near easily flammable materials and objects. These include, for example, bales of straw or hay, dry meadow, dry autumn leaves, etc.
- We do not set up a fire at the roots of trees or under low branches, because there is a risk of a large-scale fire or damage to the tree.
- We line the fireplace area with stones so that the fire does not spread to the surroundings. We do not take stones from the stream, because the evaporating water inside the stone can tear the stone and the splinters can injure someone.
- If possible, we prepare a supply of water near the fireplace so that we can extinguish a possible fire and also to thoroughly extinguish the fire after cooking.
3 pillars of a stable fire
The entire procedure that we will now introduce may seem complicated at first glance. However, in essence, it is a reliable process in which we do not have to think about whether it is raining or if we are starting a fire on a snow cover.
It is important to remember that in order to effectively ignite and burn a fire for a long time, we must meet 3 basic conditions that form an imaginary tripod. If we omit one of them, the fire will not burn or will only burn with great difficulty. These 3 pillars, as one might say, are as follows:
- air,
- fuel.
Good preparation is the foundation
That was a little bit about the theory of safety, and now we can get down to practice. The success of the entire event depends on good preparation. This is doubly true in poor or extreme conditions.
1) Prepare two platforms
We will start by preparing the platforms. Both have a simple function, namely to insulate the wood from moisture from the ground, which can make our work quite difficult, especially in adverse weather conditions.
In the following picture you can see two platforms:
- The platform on the left is used to store the prepared material, which we will use later during the fire making process.
- The platform on the right serves as the base of the fireplace and makes it easier to maintain the 3 pillars mentioned above.
TIP: On the platform on the right, you can clearly see one log that lies perpendicular to the others. This log is called a spacer and ensures good air access to the fire.
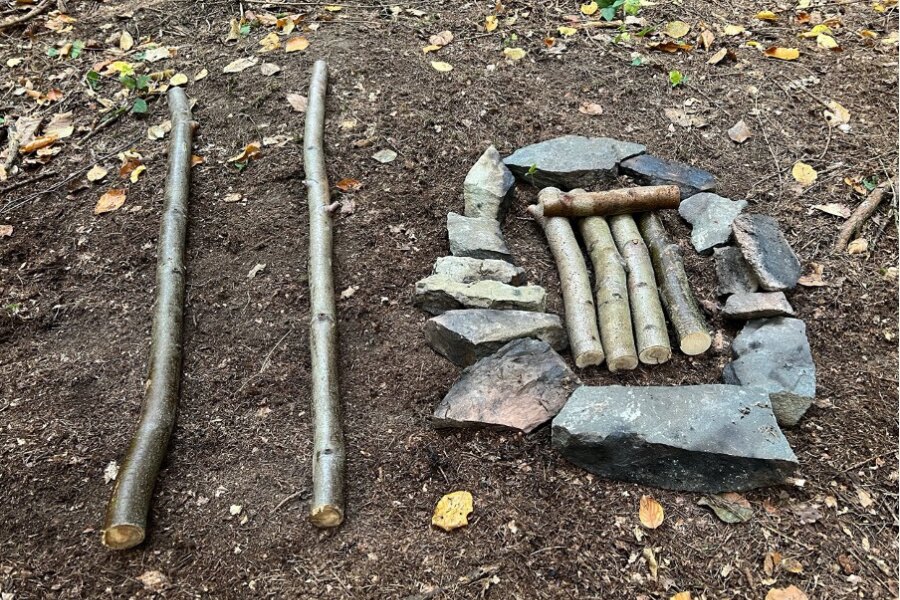
The platform on the left is used to store the prepared material, the platform on the right forms the base for the fire. Source: Sirka
2) Prepare enough material
To be 100% sure, we will prepare the following piles in the correct volumes. These are the finest chips with a diameter of a pencil, through the strength of an index finger to a thumb. If we do not have enough fine particles, we can supplement them with the so-called featherstick or "hairy wood", which we will talk more about in a moment.
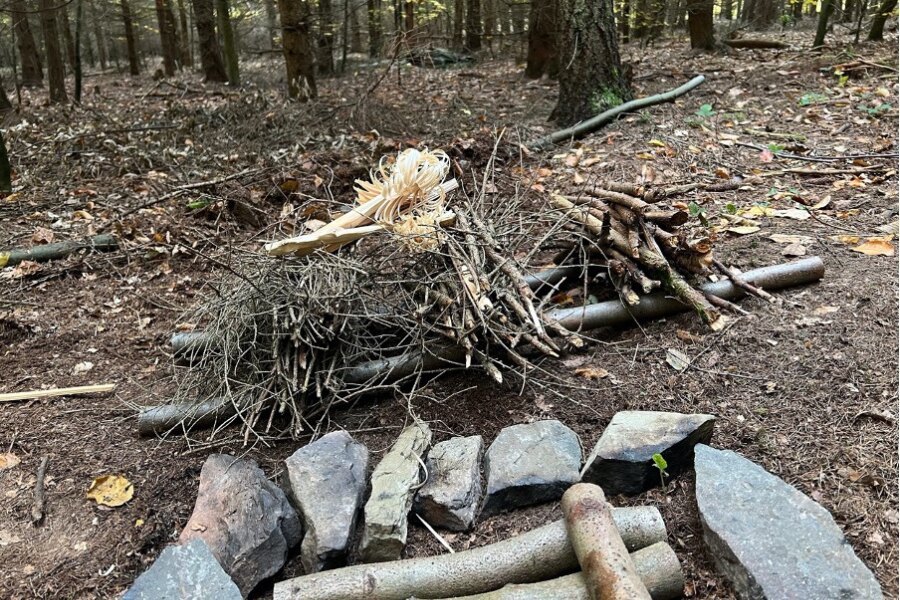
Before you start building a fire, prepare a sufficient amount of different types of fuel. Place them on a prepared platform that insulates from moisture. Source: Sirka
3) Make a featherstick
A featherstick, sometimes called a "hairy wood", is carved from chips or branches themselves. The goal is to create the finest possible shavings on the stick that burn wonderfully. You can tell the best result by the fact that the shavings curl. We are able to light such curly shavings just with a firesteel.
I always recommend preparing a featherstick in poor weather conditions, such as rain or snow.
In the photo below, we can see how such a hairy stick can look, from a weaker one (left) to a better featherstick, which we are able to light with firesteel (right).
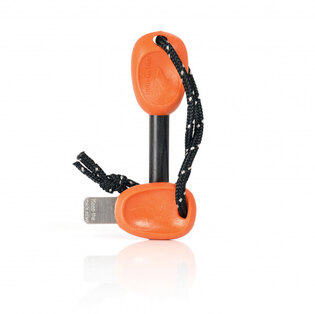
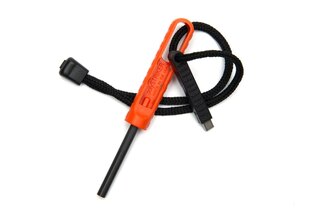
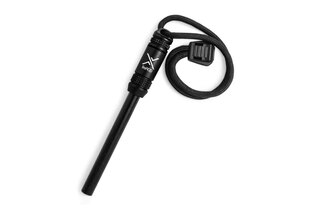
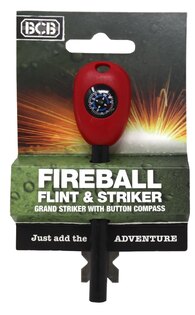
TIP: Do you know your way around firesteels? Can you choose the right one? In this article, you will find everything you need to know about firesteels!
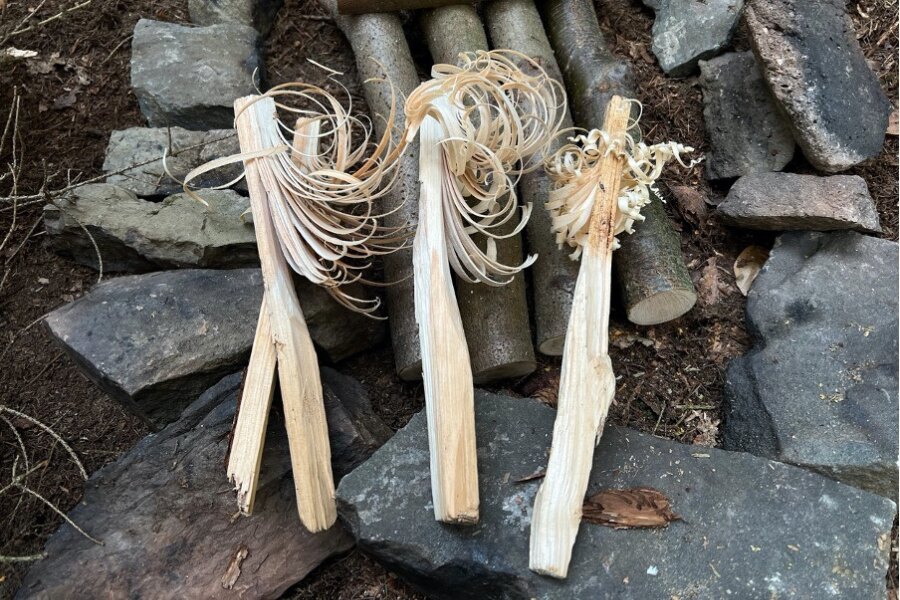
Featherstick (also known as "hairy wood") helps a lot in starting a fire and is easy to make yourself. Always keep a few in stock in case of bad weather. Source: Sirka
Let's start lighting!
And now we get to starting a fire ourselves. It doesn't matter if we use matches, a lighter or a firesteel because the procedure remains the same:
- We place tinder on the platform for starting a fire. (We will talk about tinder in more detail in my next article).
- We place the tinder as close as possible to the spacer.
- If we are starting a fire with a firesteel, we create a small "plateau" on the platform so that the firesteel does not roll over or slide.
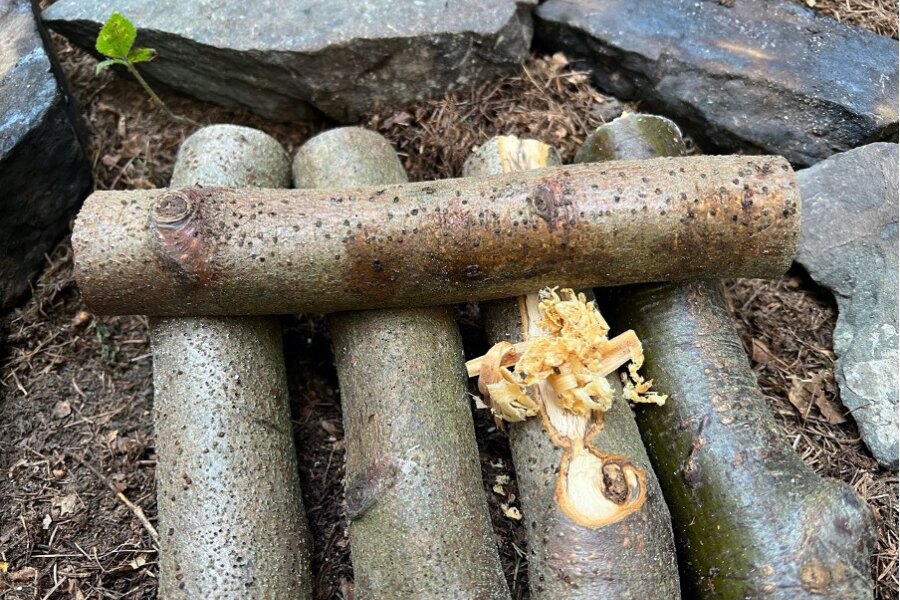
We place the tinder as close as possible to the so-called spacer. This ensures the air supply, so you don't have to blow the fire. Source: Sirka
- We light the tinder.
- At this point, we are in no hurry and start slowly placing our prepared material on the fire from the finest to the coarsest. When changing the coarseness, we place another pile perpendicular to the previous one. The advantage of the spacer is that we don't have to blow the smoking fire, because it ensures the air supply.
Remember: After cooking or any other praiseworthy activity near the fire, we must always extinguish the fire and clean it up. Ideally, we should disguise our traces so that it is not known that we had a fire there.
Readers are further interested
