How to transport water when bushcrafting
Maslow's pyramid is based on fulfilling physiological needs, and one of the most basic physiological needs is water. Having enough fluids is even more crucial on outdoor expeditions since you won't encounter any faucet or store with bottled water along the way. Everything you need to drink must be taken with you or you must know about a natural source located somewhere along the route.
There are various more or less practical ways to carry water with you on a hike. Remember that water is one of the heaviest things you will carry. Therefore, you should carry it in a way that complicates walking as little as possible... and damages your back as little as possible. Maybe until now, you just threw a few PET bottles into your backpack and didn't care anymore. But admit that this is not a completely ideal solution.
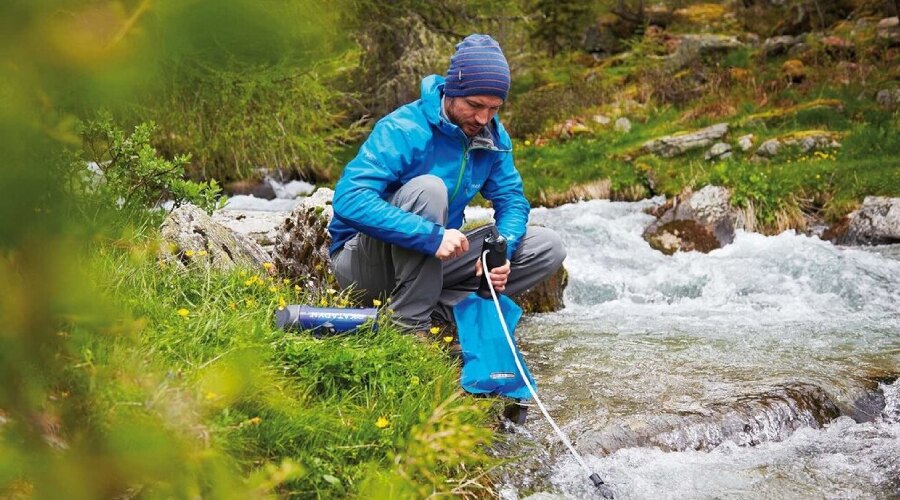
Remember that water is one of the heaviest things you will carry.
How to create a perfect hydration system
The perfect mobile hydration system should be designed to be comfortable to wear and easy to drink from with the least amount of effort. During a day-long walk, it's advisable to manage your energy properly, as unnecessary movements will be felt in the evening.
What should such a hydration system contain? Let's start with at least one container from which you can drink while walking. Having to stop for every few sips, take the backpack off your back, open it, take out the bottle, unscrew it, take a drink, screw it back, put it back in the backpack, close it, and put it on your back again... that's a lot of (unnecessary) actions.
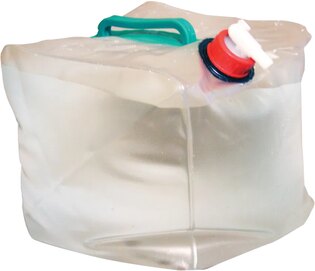
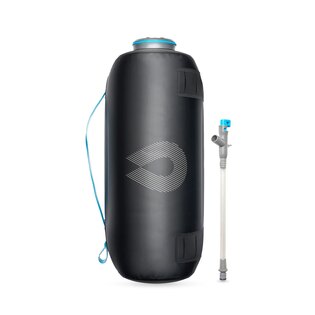
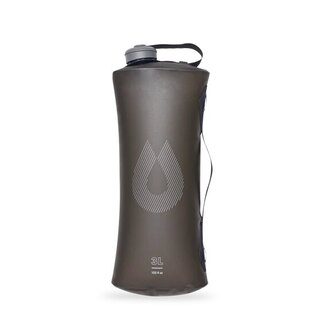
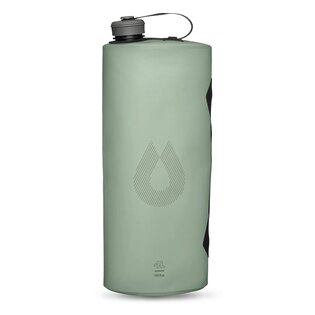
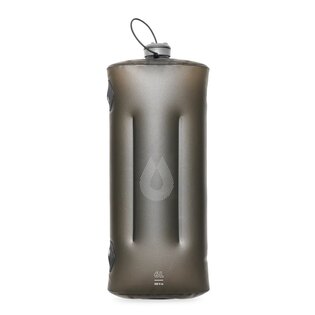
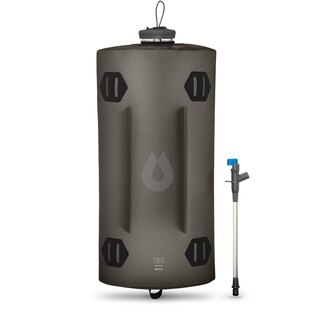
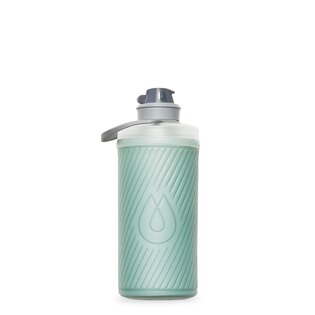
Another component of the hydration system could be a container that you can fill up on the go without having to open your backpack. For these purposes, foldable plastic containers are ideal. When empty, they take up almost no space, and you can place them in the mesh side pocket of your backpack, making them easy and quick to refill.
Furthermore, you should have at least two containers available, one for water and the other for an ionic drink, especially if you plan to expend a lot of energy on a given day. Ionic drinks are particularly suitable for longer and exhausting routes, as they help regulate sugars and minerals in the body.
A perfect hydration system should include not only a hydration bladder, one of the containers should be a classic bottle. You can use this, for example, in a camp for cooking, hygiene, or night-time drinking when you don't want to have a backpack with a hydration bladder nearby.
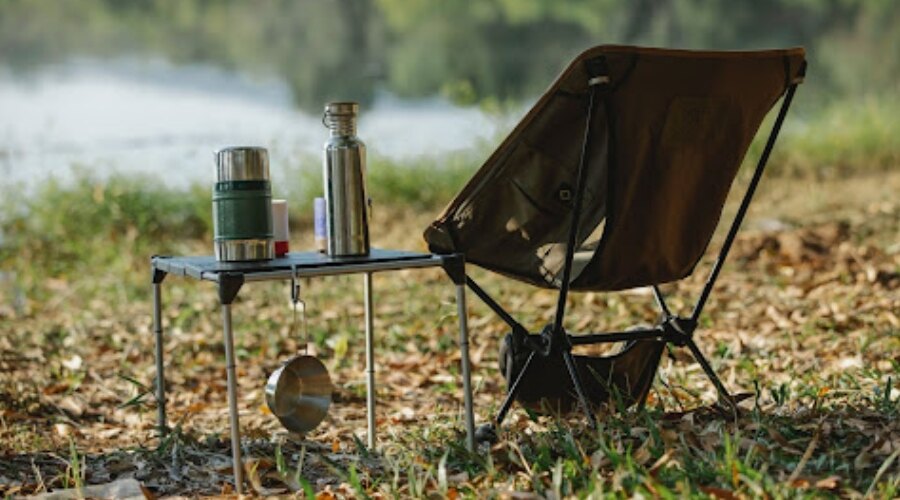
A perfect hydration system should include not only a hydration bladder, one of the containers should be a classic bottle.
The final component of a mobile hydration system should be a water filter or water purification tablets. This is especially important in places where you plan to use water from an unverified natural source for drinking, or if you are planning to drink treated water that is too chlorinated or has an unnatural taste.
All this should primarily be lightweight and compact. Fortunately, today there are solutions tailored to travelers who prefer "ultralight backpacking." You definitely don't want to carry even an extra kilogram with you.
How much water to take
How much water to take on the trip and what capacity should your personal hydration system have? We will not answer this question exactly, even though we would love to. It is individual. Therefore, always adjust the amount of water and other beverages you carry to the specific hike. In addition to the length of the route and the weather, you must also know the sources of drinking water located around your route.
Information about various wells or springs can also be found on the internet, where fairly detailed tourist maps are available. For example, Mapy.cz contains detailed map elements at least for Czechia and Slovakia. On some tourist forums, travelers who have walked the route before you can share their experiences. From them, you can find out whether the existence of the natural resource is still current and in what condition this resource is.
Use online maps to get a good water resources overview.
If you have a quality filter or water purification tablets, you can safely collect water from a stream or river for your journey. This is assuming the water is clear and there is no chemical plant or similar facility upstream. Be aware that the aforementioned research is done by you and at your own responsibility. You definitely wouldn't want to be stranded somewhere in the wilderness without water.
However, if you want an exact answer, we would recommend 2-3 liters per traveler. Such an amount of water is still relatively light and, in most cases, sufficient for the whole day. Of course, you sweat more while walking, and the hotter and drier it is, the more you should take. However, two liters is the minimum even for a day trip.
We have already talked about folding bottles. They are suitable for situations when you need extra capacity. For example, when you are embarking on a route of more than one day through dry areas without natural water sources. You should always have at least an extra liter per day. However, carry more than 5-6 liters only if you are setting out on a truly extreme and challenging route. Otherwise, you will just have unnecessary extra weight.
Replenishment of water from natural sources
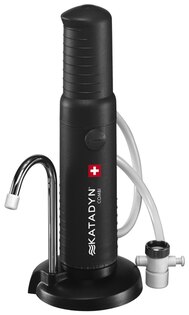
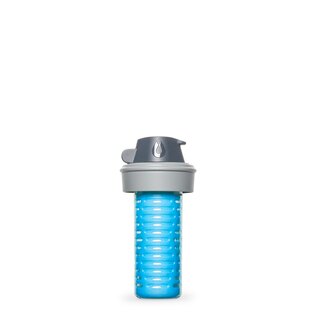
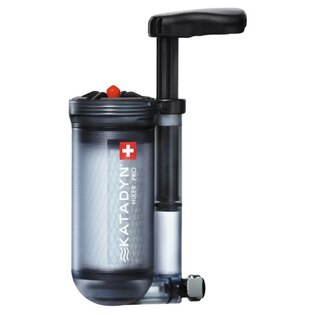
We have already talked about replenishing water from natural sources, but let's now expand on the topic of water filters. These can be divided into gravity and pressure filters, and both of these variants work on the same principle, namely the passage of water or other liquid through a multi-phase filter, with each phase supposed to remove different impurities from the water, whether solid or in the form of microorganisms. While in a gravity filter the water moves through the filter using gravity, in a pressure filter a pump is used for filtration.
For each filter, it is stated how long it takes to filter one liter of water, or how much water you can filter through this filter per minute. At the same time, we should also consider the overall lifespan of the filter. The filter device includes the filter itself, which may consist of several levels and can be made from various materials.
This filter is usually replaceable. This means that at the end of its service life, you only replace one part and do not have to throw away the entire filtration device. For this reason, it is advisable to choose filters from a brand that can supply the replaceable parts of the filters – and above all, has them available.
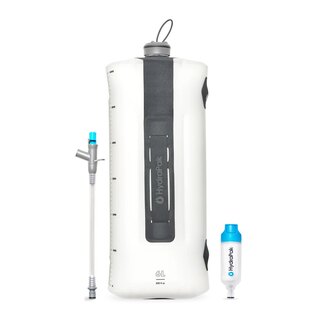
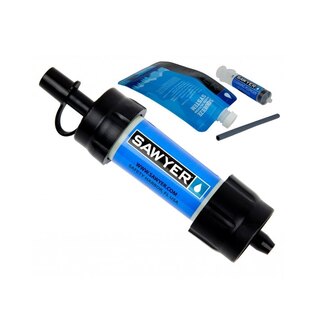
There are also inline filters where you can take water directly from a stream into a hydration pack – and this water is then filtered during drinking. This solution is compatible, for example, with Sawyer brand filters. However, the disadvantage here is the low flow rate and also that such filters are relatively bulky.
The hydration pack is the most practical
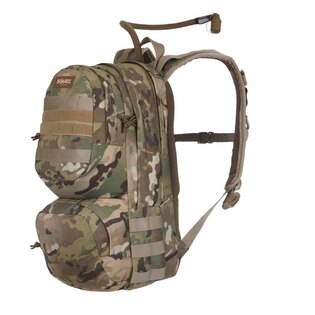
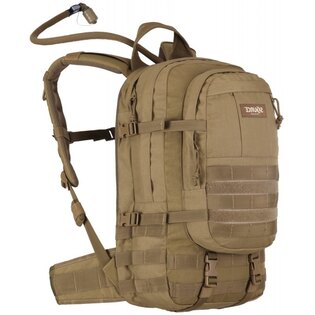
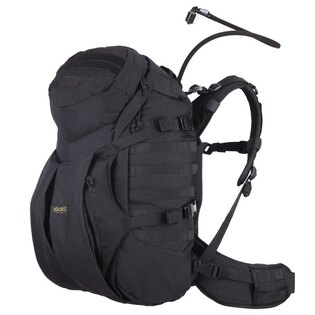
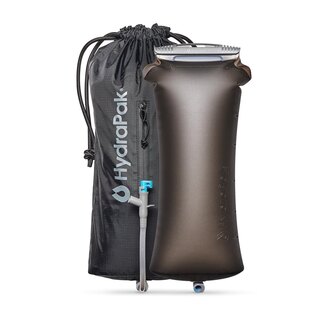
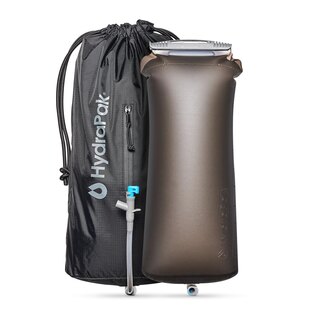
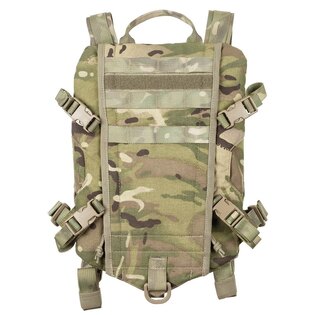
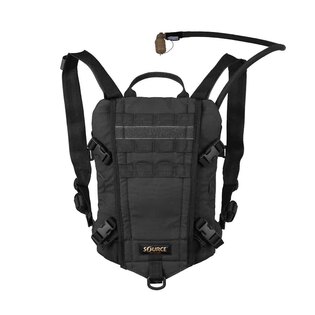
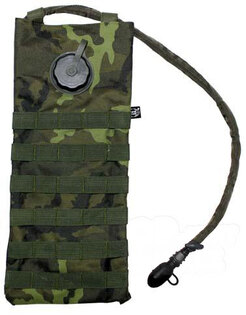
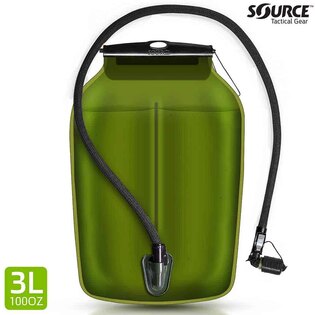
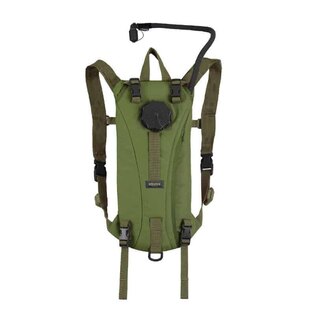
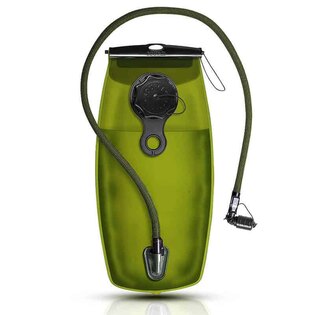
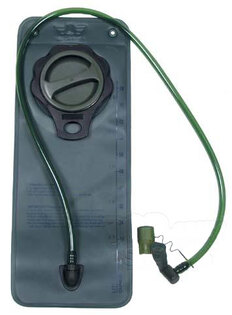
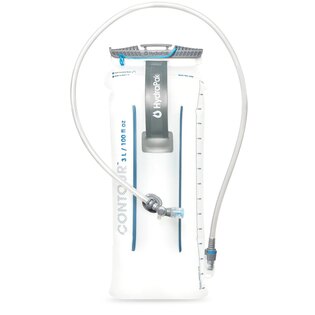
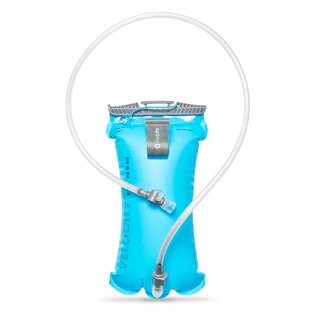
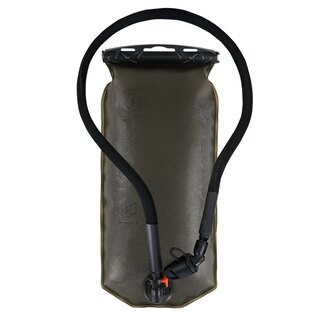
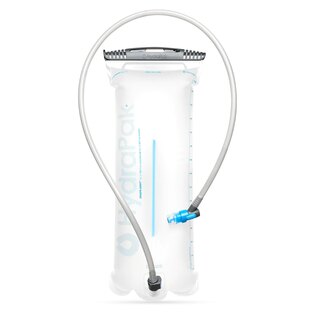
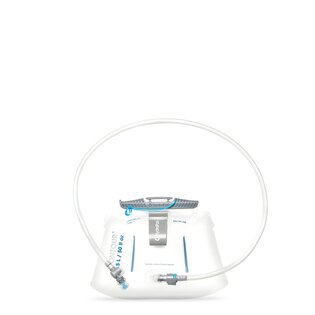
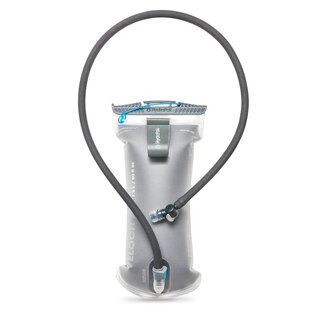
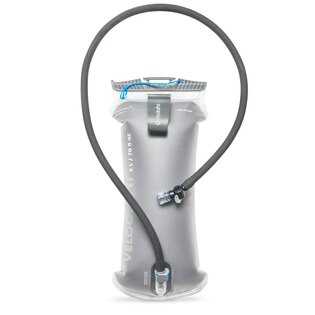
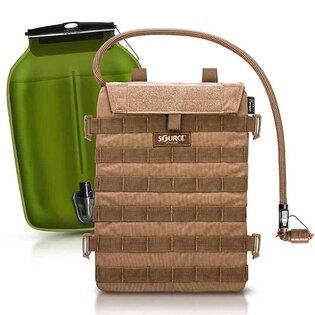
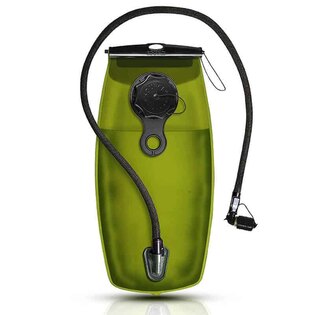
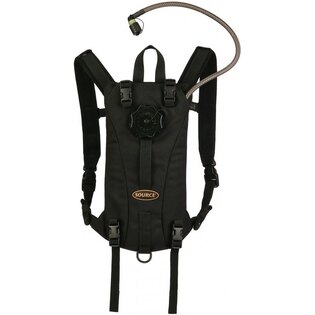
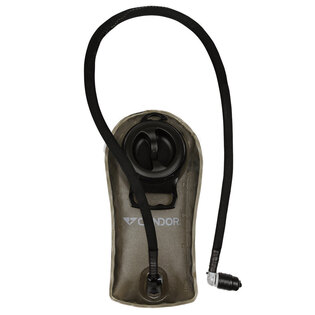
As for carrying water itself, hydration packs are certainly the most practical, for which it is advisable to get a compatible backpack. This means a backpack equipped with a pocket for the hydration bladder and ideally also an outlet for the hydration tube. Hydration bladders can have various capacities, from approximately 1 liter for recreational runners to 3 liters for all-day hydration for users with high energy expenditure.
If you have ever regularly run or cycled, you may have encountered hydration packs. Hydration packs have the advantage of allowing regular fluid replenishment without interrupting the activity you are currently engaged in.
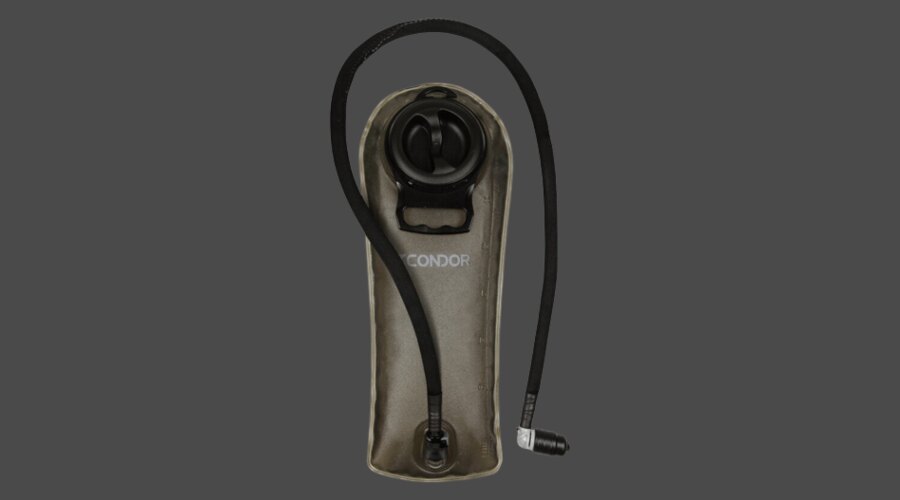
As for carrying water itself, hydration packs are certainly the most practical, for which it is advisable to get a compatible backpack.
When choosing a hydration bladder, make sure that the plastic it contains does not have bisphenol A and PVC. It should be BPA Free and PVC Free. This should apply to almost all hydration bladder models that you can purchase from us. It is also suitable if the hydration bladder does not have a plastic aftertaste. Many bladders indeed feel like drinking from a glass bottle, which is of course a plus.
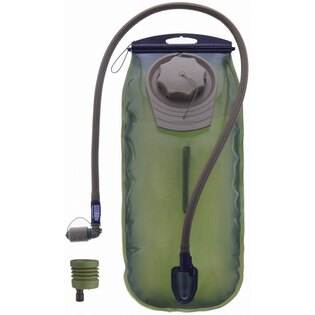
Some hydration bladders are compatible with specific backpacks, while others are universal. Additional features that are desirable in such a bladder include a so-called plug’n’play tube, which you can detach from the bladder thanks to a special valve without spilling the liquid inside. Another advantage is the bite valve on the tube, which stops the flow of liquid when you're not drinking, so there's no risk of losing precious liquid along the way.
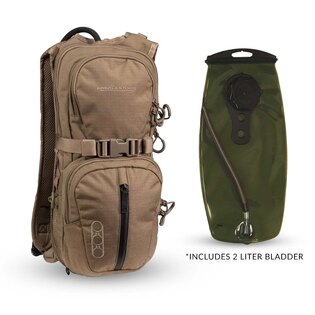
If you travel light, you can also get a special hydration backpack or hydration vest specifically designed for carrying hydration packs. The integrated solution has the advantage of being easy to carry, easy to drink from, and also easy to clean.
The advantages of hydration packs include, besides easy drinking and a balanced center of gravity, a large volume of water in one container. However, there are also disadvantages – for example, you cannot see how much liquid is left in the pack, so you might be unpleasantly surprised when you run out of water.
If you use a backpack without back reinforcement, a full hydration bladder can create a bulge on your back, which can press on your spine, ultimately becoming painful. Lastly, it is not entirely easy to refill the hydration bladder during the day (although many bladders now have patented closures that make refilling significantly easier).
Despite the negatives, we can only recommend the hydration pack for carrying liquids on the go. Sometimes the external pockets of the backpack are simply out of reach of your hands, so hydration packs with a tube remain the only way to drink while walking. However, for cooking and hygiene, a bottle is sometimes more practical, so feel free to combine both solutions.
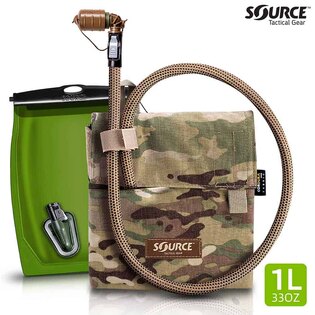
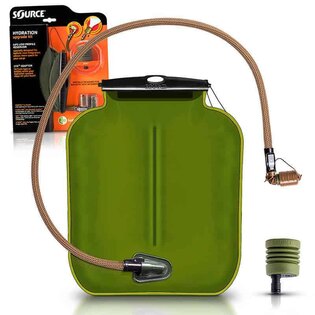
Some of the most well-known manufacturers of hydration reservoirs include the Israeli company Source and the American HydraPak.
And what about the bottles?
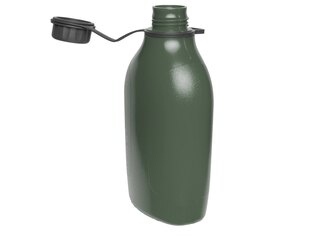
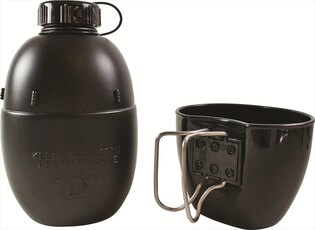
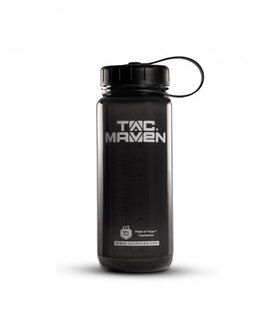
The most common way to carry water while traveling is in bottles, mostly plastic, because most of us don't want to carry glass anymore, and there's also a risk that a glass bottle might break along the way. When it comes to outdoor bottles, there are several practical options, all of which we offer. We will discuss them below.
Let's first take a look at where to carry such a bottle. To achieve a capacity of 2 to 3 liters, it will be necessary to carry a combination of a bottle and a hydration bladder, or multiple bottles. It is ideal to have two smaller bottles rather than one larger one – you can place each of the smaller ones in the side pockets of your backpack, thus practically balancing it.
It also depends on whether you can reach the side pockets of your backpack and if you can easily put the bottle back in its place while walking. If not, you will either have to take the backpack off every time you drink or ask someone walking with you to hand you the bottle. It can be practical if you carry each other's bottles. Simply take one out of the side pocket of the other person's backpack while walking and return it at an appropriate moment.
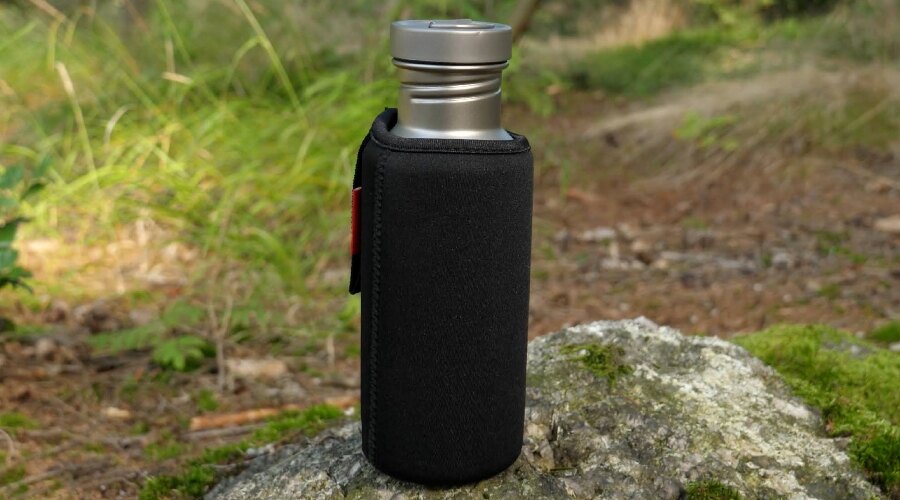
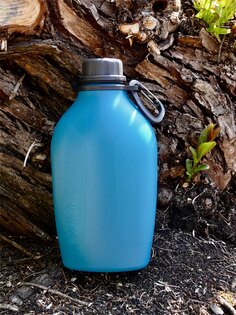
Outdoor bottle is one of the most commons way to carry water.
Some backpacks are directly supplied with a pocket on the shoulder straps, or you can add such a pocket to the backpack as optional accessory. Bottles placed in the pocket on the shoulder strap are easily accessible while on the move, so you don't have to stop to drink.
And then there are the back pockets of the backpack, which are the least suitable for carrying water. Firstly because of the shifted center of gravity and secondly because you simply can't reach the back pockets while walking. However, the back pockets are useful for carrying empty (already drunk) bottles and also bottles with water that you are saving for later.
The most common types of bottles
The most commonly used material for field or outdoor bottles is plastic. Again, it should be a type of plastic that is resistant to extreme temperatures (on both sides) and does not release harmful substances into the water, such as bisphenol A. Therefore, it should be labeled BPA Free and PVC Free. Additionally, it is important that the water in the bottle does not have a plastic aftertaste when drinking.
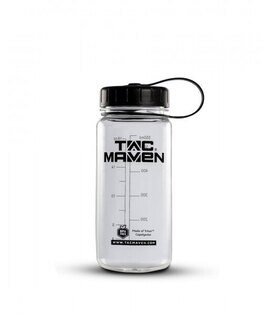
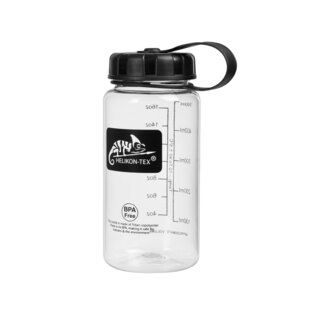
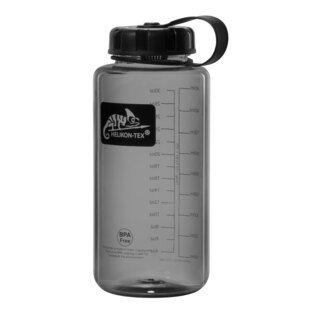
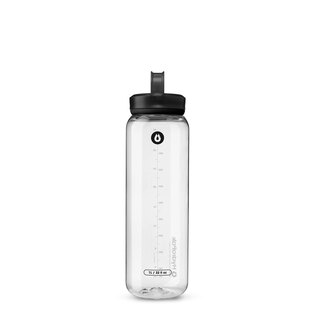
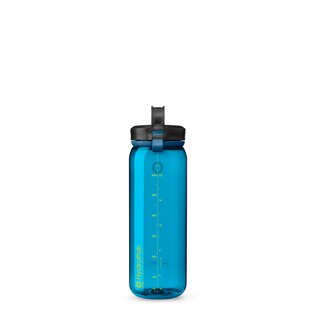
Outdoor bottles made of plastic are further divided into rigid and collapsible types. The collapsible ones can be more practical when you have multiple water sources with you. Once you've finished the water in the bottle, you simply fold it up and store it in your backpack, where it takes up almost no space. On the other hand, rigid plastic bottles can have a fixed position, such as in a side pocket, and using two can beautifully balance your backpack. If they are transparent, they can also come equipped with a gauge, allowing you to see how much drink you have left in the bottle.
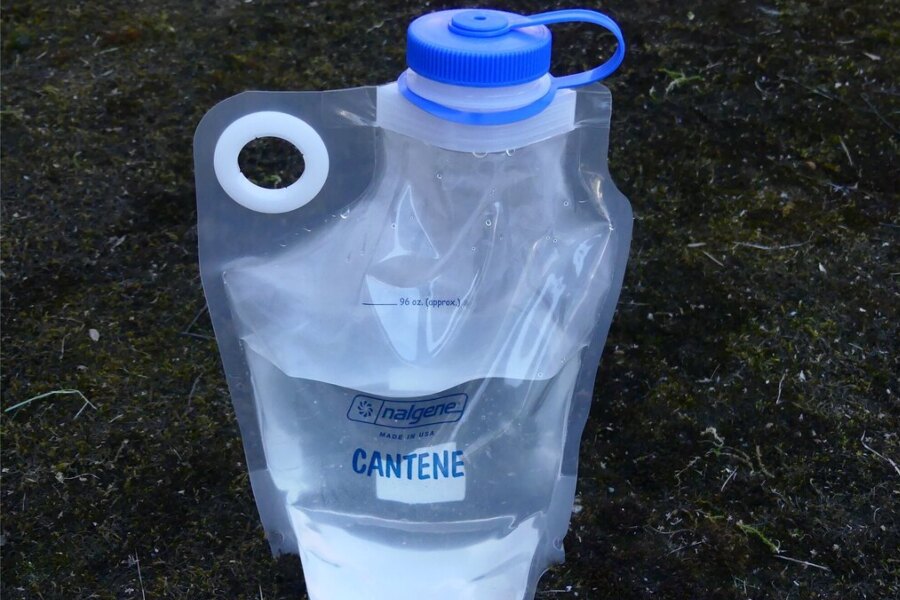
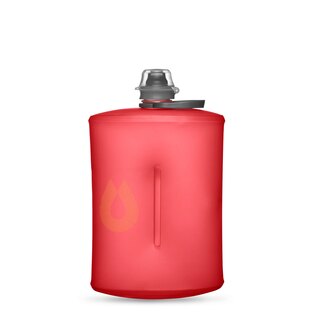
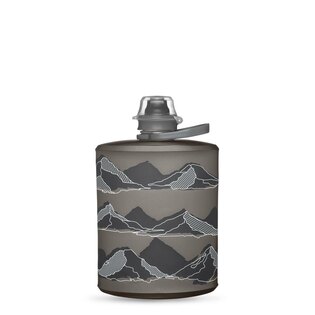
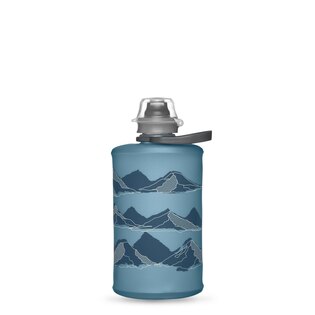
Collapsible bottles can be more practical when you have multiple water sources with you.
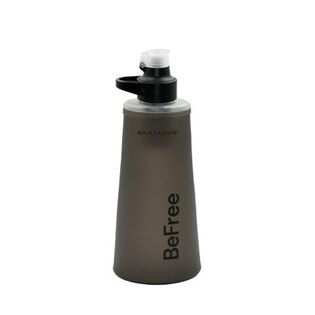
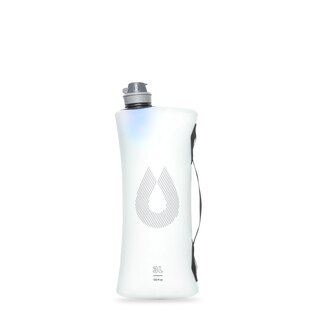
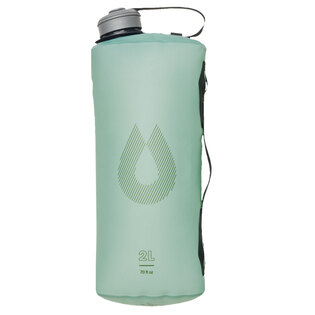
Then we have collapsible bottles, which you simply pack after drinking. They are usually made of thermoplastic polyurethane (TPU), which is flexible and resistant to freezing and high temperatures. Compared to a classic rigid bottle, the collapsible ones are significantly lighter.
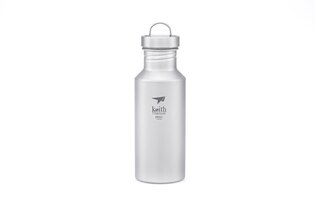
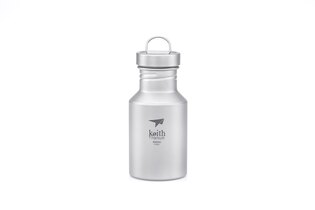
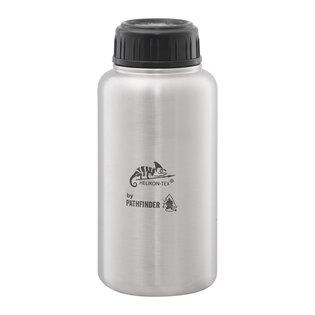
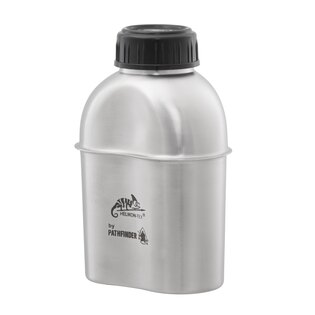
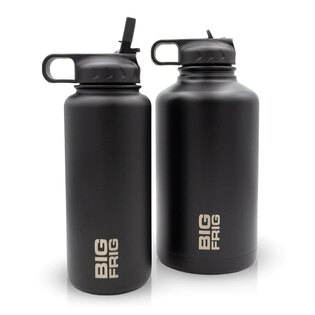
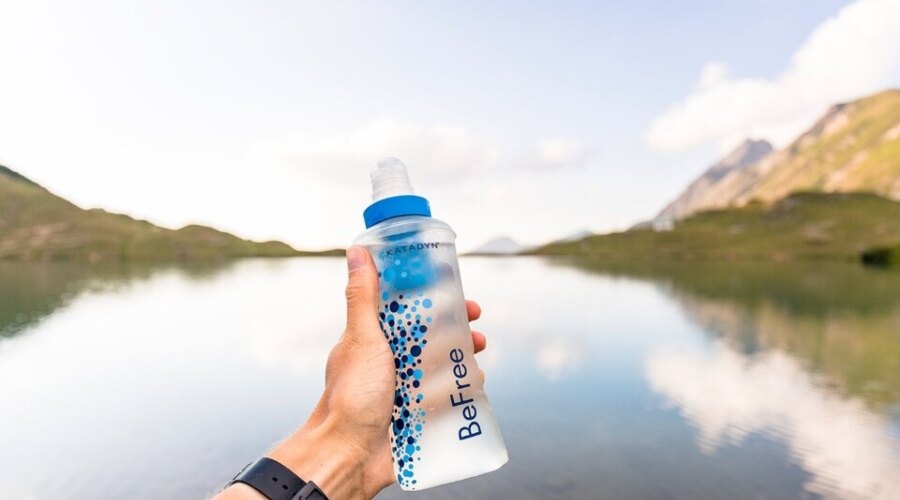
Now, finally, we have metal. Metal bottles are somewhat more expensive, but they last longer. Bottles are mostly not made from aluminum anymore, so the most common metal material in this regard is stainless steel. The absolute top in terms of durability and quality is titanium, but of course, you'll pay extra for it. Some bottles are even compatible with commonly sold filters, like those from the Swiss company Katadyn.
In addition, you can equip classic bottles with a hydration tube, essentially turning them into something like a hydration pack. This allows you to place the bottle anywhere convenient without having to remove the backpack every time you drink. The hydration tube can also be easily attached to the shoulder strap so it doesn't get in your way while walking.
Readers are further interested
