How to treat a fracture in the wild?
Many things can happen on our adventures, unfortunately including the negative ones. But that does not mean we should stay at home. Nature can be harsh, but it is also beautiful and it would be a pity to deprive of it just because something can happen to us. For example broken limb. In following article, we will give you few tips how to deal with such situations.
Be optimistic, but count with worse case scenarios too
For example, you can twist your ankle with bad steps, slip and leave your arm behind or you can fall off the cliff with one of your legs stuck in between rocks and all the sudden you know you can not move and you have to do something to get home. We can call mountain rescue service for example, but even for them it can be difficult to get everywhere, just as our mobile phone may not be working...
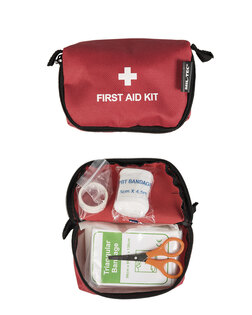
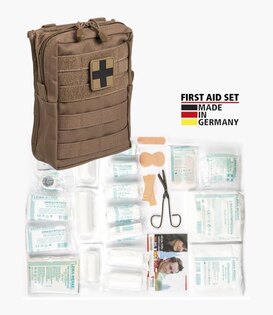
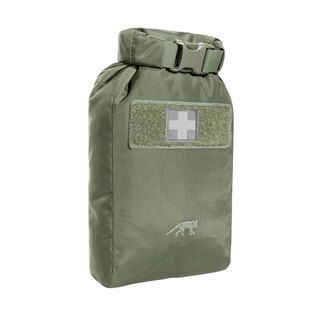
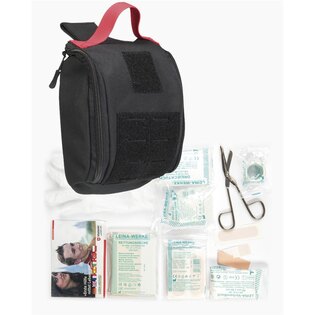
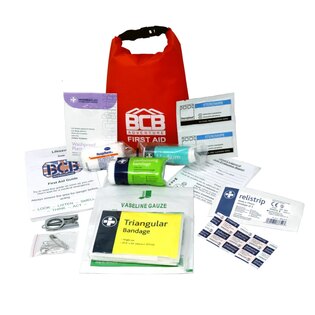
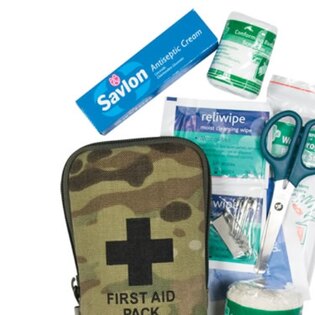
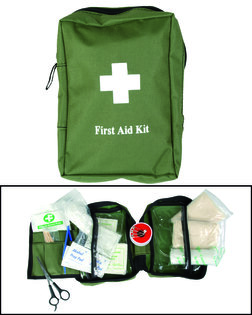
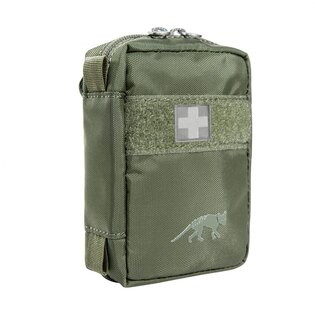
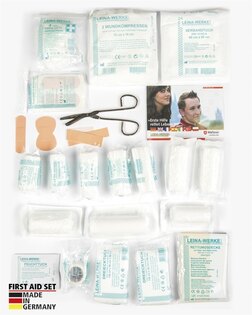
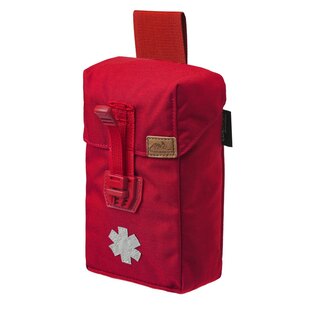
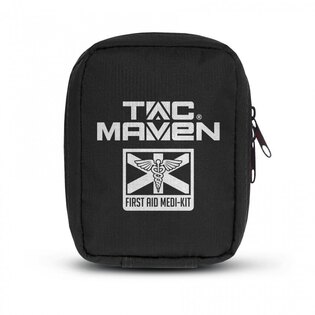
Of course, the advantage is, if there is a another person or more people. But let´s assume you are alone, with basic equipment only, in better case with first-aid kit and knife. How to deal with such situation ? Keep reading. Let´s focus on broken leg first as it is usually more serious also because of the fact, that with one arm we can still walk (even know we would need to leave our backpack overthere), but if you can use only one leg, that is a bigger problem.
Interesting fact is, that during outdoor adventures, people going for one day hikes are in greater danger opposite to those on multi-day hikes as they are usually much better equipped. One-day hikers usually mislead to the fact that nothing can happen so they don´t need any special equipment...
Below stated instructions are rather general, definitely not for 100% of the situations – every injury can be unique and sometimes we just need to wait for the arrival of medical help. Luckily, in the Czech Republic or Slovakia, where it is too far for medical help to come, there is already mentioned mountain rescue service. However, we are rather talking about the situations, when we can help ourselves and seek for help by quite comfortably walking to certain places...or if there is no other option.
The prevention, however, is key. Before you go on trek - especially with solo hiking – it is advised that you let somebody know where you are going so this person can always organize some help. You should also always carry some device for communication. In most of the places you should be fine with mobile phone (charged and ideally durable), but sometimes you can not count on it so we should also get some GPS tracker, for example those used on boats. But mainly - we should know our limits.
How to treat a broken leg
If you break a leg, it depends on whether it is a fracture of joints or fracture of bones. Either way, try to stay calm and don´t panic. if it is not a complicated open fracture, it can be usually treated even know it is an improvised solution.
Step 1. Assesment of the situation. The signs and symptoms can be either bone protruding throught the skin (worse variant) or you might be hearing a crack, additionaly inability to bear weight on or use the body part because of the pain, also tenderness, bruising and swelling. It can also happen that you simply mistake a fracture for a sprains, strains or dislocations. But it does not really matter, you need to treat it, because you won´t be able to walk anyway. You will have time for X -ray and cast or other immobilization when you are safe.
Step 2. With open fracture, you should always disinfect it to prevent infection. We assume, you carry some. If you don´t have standard disinfection, you can use bottle of liquor. We don´t encourage you to drink liquors, but sometimes bottle of liquor can come handy in more ways. Before disinfection you should gently cleanse it with water to get rid of all the dirt.
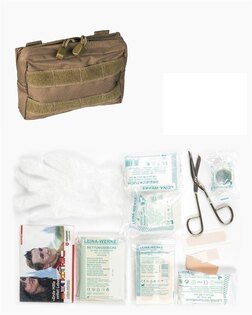
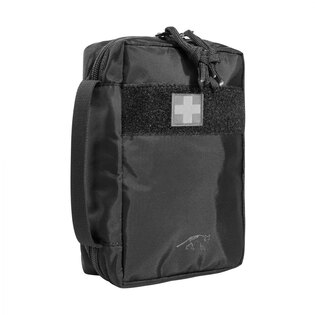
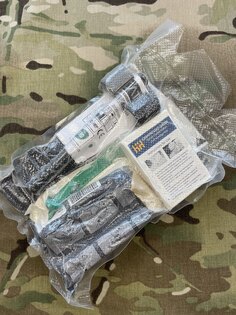
Step 3. If we assume you carry at least some basic first-aid kit. Tie it, using a gauze or bandage along with pad. If you don´t have first-aid kit, you will need to improvise and use piece of a clothing (ideally cotton or similar). Do not use any clothes of injured person, maximally get rid of clothing around the wounded area.
With open fracture use bandage after traction in position (bringing the limb into its normal anatomical position - step 4).
Step 4. Before applying a splint, use traction in position (TIP) if it is visibly deformed and injury can not be immobilized in the position in which it is. At the same time you can not feel pulses below the fracture site, skin changes color, etc. Discontinue TIP if it causes considerable pain or if the movement of the distal part of the fracture is met by resistance. You will not put the limb into a position in which its bone should grow again - this is a doctor´s job, however, you will reduce the possibility of further damage to bone, muscles, nerves and blood vessels. Such injuries could be then treated worse than the fracture itself.
Step 5. Apply the splint to provide stability to the fractured bone. This can be trekking pole, tree branch or anything strong and long enough that you can find - tent pole, ski poles, cardboard, compressed clothing, bicycle pump... Don´t worry to use or brake anything - these things can be replaced easily but your bones not. Make it stable by using again bandages or clothing. For multi-day trips we recommend to purchase flexible aluminium splint.
Use enough padding to prevent discomfort, splints should be snug, but not too tight so they ristrict circulation. The best splints are multidimensional—splint material is applied to two or more sides of the fractured part.
Step 6. If the person is stabilized, conscious, willing and able and the fracture is not too complicated, you can slowly start moving. Ideally, you know that the help is on its way. Either way, you haven´t won yet – you need to constantly checking blood circulation and possibly adjust or remove tight or constrictive bandage/clothing, or reposition the injured limb. It is always good to contact some emergency numbers for help if you can.
Broken arm
Most of the steps are similar just as with broken leg, but the arm should be splinted with the elbow bent. If you can not use any splint, the best way is to use a sling and swathe. With this method, the body is used as the rigid object to hold the fracture in place. The swathe goes around the torso, the arm won´t be moving and you can quite comfortably get to the safe place.
To keep a natural position in the hand and reduce swelling, put a rolled up item (sock, glove, etc.) in the palm. For the lower arm fracture, apply padded splints to each side of the forearm. The splints should go beyond the elbow joint and beyond the fingertips.
Tie the splints properly and check the victim´s pulse and blood circulation.
If you are treating upper arm fracture, you could use already mentioned sling and swathe (you can use victim´s torso as a splint). With the elbow bent, tie a sling using triangle bandage or triangle piece of cloth. You can also used so called coaptation splint, which fixes the upper arm from both sides. Flexible aluminium splint would be ideal. For this method, put some padding under the armpit (for example rolled up sock again), which allows better circulation.
Unfortunate situations in the wilderness just happen every day and you need to be prepared for it to happen to you. Handle the situation by trying to stay calm and always ready, especially when you are far from civilization.
Readers are further interested
