Spring cleaning: Got your guns cleaned?
Spring is here and with it comes time for spring cleaning. And of course, this does not only apply to Easter decorations, but also to the maintenance of outdoor and tactical equipment and, of course, weapons. In order to be able to rely on your weapon 100%, it is necessary to give it quality and regular care. So if you've been neglecting gun maintenance lately, now's the perfect time to roll up your sleeves and get to work!
Why is gun care important?
Simply because you need to rely on your weapon 100% at all times. However, this requires some effort. During shooting, impurities are continuously deposited on the weapon both from the outside (mud, dust) and from the inside (residue from a fired cartridge, post-shot waste, gunpowder residues, carbon, etc.), which tend to harden relatively quickly.
These impurities form deposits of hard crusts in the weapon mechanism, which are difficult to remove and in extreme cases disrupt the operation of the weapon. They cause corrosion of the material, mechanical wear and, in reaction with external influences, also chemical disruption of the material.
The need for maintenance applies to all weapons without exception, including weapons made of corrosion-resistant materials or with special surface treatments.
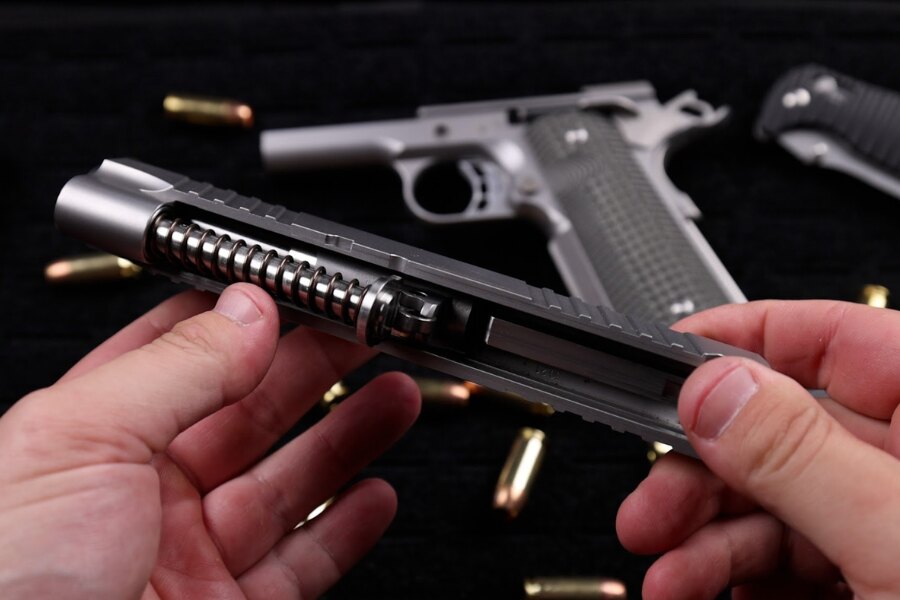
Every weapon needs systematic care. Weapons made of corrosion-resistant materials or with special surface treatments are no exception.
Poor or zero weapon maintenance:
- leads to corrosion, abrasion and overall material degradation,
- damages the internal mechanism of the weapon,
- significantly increases the malfunction of the weapon,
- negatively affects shooting accuracy,
- negatively affects shooting safety,
- costs money, because it significantly reduces the life of the weapon.
How often to clean?
This depends on several aspects, such as the type of weapon, how often you shoot, how much you shoot and what ammo you use, as well as external conditions, storage method, etc.
As a rule, it is not necessary to carry out a total disassembly of the weapon and a large cleaning immediately after firing several rounds. However, after every major shooting, it is ideal to do at least basic maintenance at home, which we will talk about below.
The minimum that is good to do every time and can still be done at the shooting range is to clean the barrel using a boresnake cleaning line. In this case, you don't even need to disassemble the weapon:
- You put the weapon in the shooting readiness state – that is, you pull the bolt back and catch it with the bolt catch.
- The boresnake has a weight on one end, you insert it through the empty cartridge chamber into the bore of the barrel and pull it out through the muzzle of the barrel.
- You pull the entire cord through the barrel from the cartridge chamber towards the muzzle. You repeat the entire procedure several times.
Once in a while you will then do a general disassembly and a larger and more detailed cleaning. If you are not sure how to do this, study the instructions from the manufacturer, find instructions on YouTube for the overall disassembly of your weapon (cleaning then proceeds similarly to basic maintenance, only you get to more parts), or contact a gunsmith or shooting instructor .
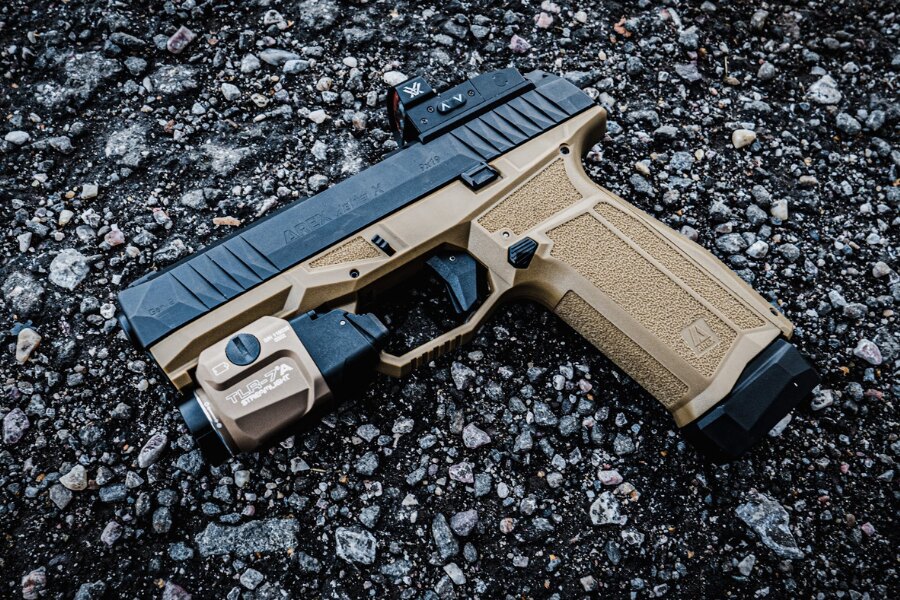
During shooting, dirt is continuously deposited on the weapon, which needs to be removed so that the material does not start to degrade.
What to use for cleaning?
Anyone who has taken a basic military training course may remember that the gun could be cleaned quite well with a torn t-shirt, lots of lubricant and prehistoric cleaning equipment that you were handed out and and that lost well. "Tactical ear picks" or old brushes also worked quite well. The inspection was carried out using a white tissue... But today we have much more sophisticated equipment that allows better and more convenient cleaning of the gun.
- Weapon cleaning pad.
- Brushes for coarse dirt - copper, nylon.
- Brush for removing fine dirt.
- Boresnake for barrel cleaning.
- Wiper rod and brushes and stretching pins that can be mounted to it.
- Small cleaning cloths (patches).
- Several larger cotton cloths, possibly cleaning towels for weapons.
Chemicals and lubricants for weapons, e.g.:
- weapon cleaner: cleans and degreases,
- compressed air for gun cleaning: “blows” the gun and removes sand, dust and dirt,
- weapon lubrication and preservation product (ideally not based on vaseline): treatment and lubrication of moving parts,
- possibly other means, e.g. barrel bore cleaner, barrel cleaning foam, Teflon spray, means and cloths for optics, etc.
You might be wondering if you really need that much, and if it's not enough to have one all-purpose tool and a basic set of picks, brushes and ear picks and a few torn cloths. Basically, that's enough. But with specialized equipment and good preparations, cleaning will go much better.
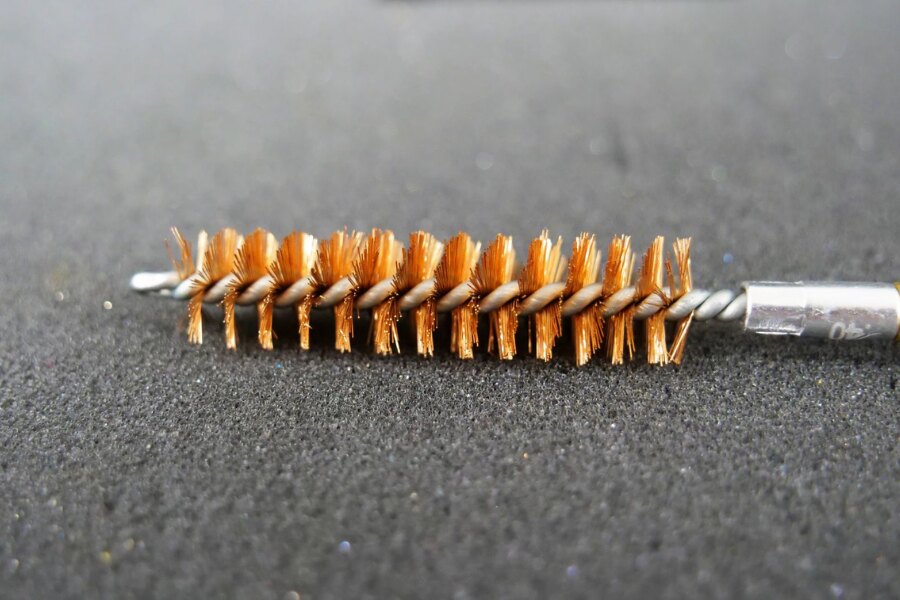
copper brush are used to remove coarse dirt.
Basic cleaning procedure
1) Perform a weapon check
Any handling of a weapon always begins with a safety stereotype, i.e. checking the weapon:
- remove the magazine,
- check the cartridge chamber to make sure it is empty. If it is not empty, remove the cartridge and store it in a safe place,
- perform a targeted safety shot into a safe area.
When you are sure that the weapon is unloaded, you can proceed to dissection (disassembly).
2) Disassembly
Disassemble the gun according to the manufacturer's instructions. For regular cleaning, it is enough to do a basic disassembly.
3) Frame
Remove dirt, especially from moving parts. For coarser dirt and deposits, use a brush, for finer dirt and dust, use a brush, or a cloth and a pick. An excellent way to clean hard-to-reach places, of which there are many, is to blow through them with compressed air.
Finally, the basic parts need to be lightly greased. Do not miss the guide grooves of the shutter and the moving metal parts. At the same time, the weapon should not remain spilled with oil, the oil should not drip from it. The aim is to leave a light film on the treated parts.
The metal frame of the gun has metal grip elements that also need to be cleaned and preserved, as sweat can often and aggressively affect them. With polymer frames, there is no need to deal with it so much, because they are not subject to corrosion, so it is enough to wipe them with a cloth.
4) Bolt (slide)
Remove the barrel and recoil spring from the bolt. Use a brush to remove coarse dirt that settles on the face of the bolt, the area under the extractor and around the ejection window. Clean and lightly lubricate the slide guides. From time to time, you can lightly preserve the finish on the outside so that it does not corrode. Oil, on the other hand, should not get into the primer shaft (typically for a Glock), where dirt accumulates and, in combination with oil, forms a grinding paste.
Also clean the return spring. Here, for example, it works well to spray with a cleaning agent for weapons, which cleans and degreases at the same time. Wipe the spring with a cloth and lightly lubricate it.
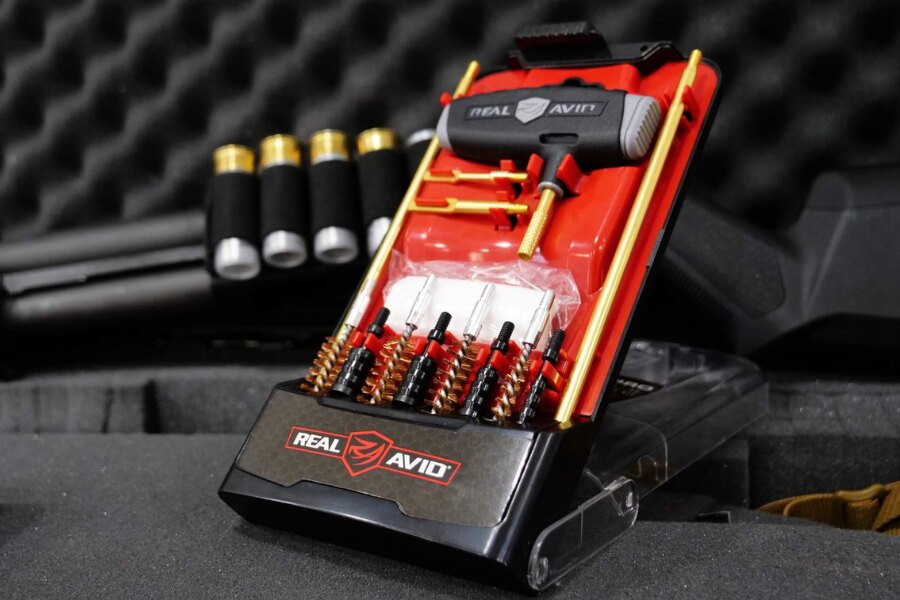
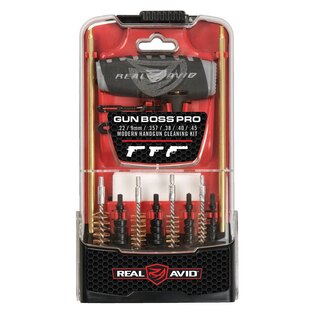
The Gun Boss PRO HANDGUN Cleaning Kit from Real Avid has a durable polycarbonate case that doubles as a stand. You will thus have a perfect overview of the cleaning tools.
5) Barrel
Both the outside and the inside of the barrel need to be cleaned. From the outside, it is mainly the space near the cartridge chamber, where dirt settles and deposits can form. The rest of the outer part of the barrel just needs to be gently cleaned, e.g. from gunpowder residues.
Drop oil into the inner part of the barrel and let it work for a while. You can use regular Konkor, but BoreTech's Eliminator bore cleaner, which, in addition to removing carbon, also binds copper and prevents corrosion, or Riflecx barrel cleaning foam have good properties.
You can remove coarse dirt with a bronze or copper brush (ideally screw it onto the Wiper rod), finer ones with a nylon brush. You can finish cleaning with a pin with a cleaning cloth or a boresnake, which will wipe the barrel dry. Always clean the barrel from the chamber towards the muzzle, not the other way around.
6) Magazines
If there is dirt on the magazine (it was lying in a dusty environment or, for example, you shoot disciplines where you throw magazines on the ground), clean them with a cloth to remove dirt. Once in a while you can take the magazine apart and wipe the spring, feeder and interior.
Check if the spring has a tendency to corrode, and if so, you can lightly grease it, otherwise you don't need to grease the magazines, the grease would bind dirt unnecessarily. But what you can use on the magazines is, for example, a spray with Teflon, which protects the material against corrosion and does not leave behind an oily layer.
7) Assembly
Finally, assemble the weapon and test the functionality.
Rigad recommends
1) Real Avid® Gun Boss® Cleaning Kit PRO HANDGUN
This cleaning kit is designed for .22 / 9 mm / .40 / .45 short firearms. It is therefore suitable especially for those who own several weapons. All tools are neatly stored in a durable transparent polymer case, which also serves as a stand.
The set consists of a total of 13 parts including pullers, brushes and pins, the package includes 50 pieces of cleaning cloths. The practical T-shaped handle, which has both a fixed and a rotating thread, fits perfectly in the hand and can also be used as a hammer.
2) Riflecx® HANDGUN cleaning kit for pistols and revolvers
A set of pistol and revolver cleaning products contains everything to keep your guns in optimal condition. The products are mutually compatible and act synergistically. All products are made in Poland.
The kit includes:
- Spray with compressed air: used to remove dirt even from hard-to-reach places.
- Barrel cleaning foam: removes even long-term dirt and does not run.
- Weapon cleaner: cleans and degreases, it is also gentle on the wooden elements of the weapon.
- Spray with Teflon: treats the material and prevents corrosion. It's not greasy.
- CLP oil: for lubrication of moving parts of the weapon, Contributes to smooth running and reduces wear.
- Military Soap: soap for hands, body and hair, removes traces of heavy metals.
3) Otis Defense® MSR Cleaning Kit for AR, Caliber .308 / 7.62mm
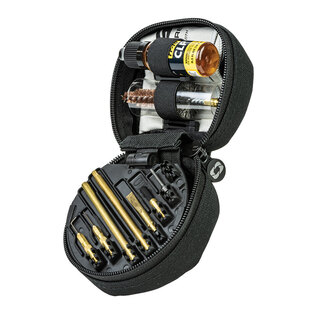
This kit is designed to care for AR style rifles. It is compact, light and portable, and you can comfortably take it with you to the shooting range. D Kits include cleaning swabs, Crevice tip, bronze bore brush, Memory Flex Cable for Breech-to-Muzzle cleaning, small obstacle remover and T-handle for easy handling, and a variety of other tools.
The MSR range from Otis Defense also includes CLP oil designed to lubricate and protect the moving parts of the weapon against corrosion and wear.
Readers are further interested
